433
Проект смотритель. Часть 8. Софт
Эта статья является частью цикла
- Проект смотритель. Часть 1. Начало
- Проект смотритель. Часть 2. Дизайн
- Проект смотритель. Часть 3. Фоторезист
- Проект смотритель. Часть 4. Шасси
- Проект смотритель. Часть 5. Гусеницы
- Проект смотритель. Часть 6. Моделирование и печать
- Проект смотритель. Часть 7. Железо
- Проект смотритель. Часть 8. Софт
- Проект смотритель. Часть 9. Зарядная станция
- Проект смотритель. Часть 10. Bluetooth
- Проект смотритель. Часть 11. Home assistant
- Codex написал WASD управление для Смотрителя
Esp32cam - довольно популярный контроллер. Управляемые по wifi девайсы с камерой - также очень популярны. Но несмотря на все это мне не удалось найти сколь угодно пригодной прошивки - чтобы и управление устройством было удобным и работа с камерой и симпатичный дизайн.
Отдельно интерфейс для камеры с кучей настроек - пожалуйста, но самое близкое, что я нашел для дистанционного управления, выглядело вот так:
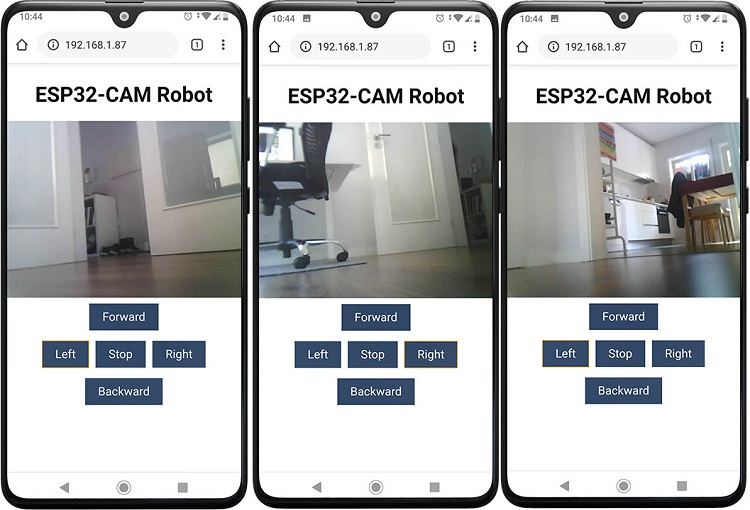
Причем этот или похожий интерфейс встречается почти во всех даже самых популярных видео и инструкциях.
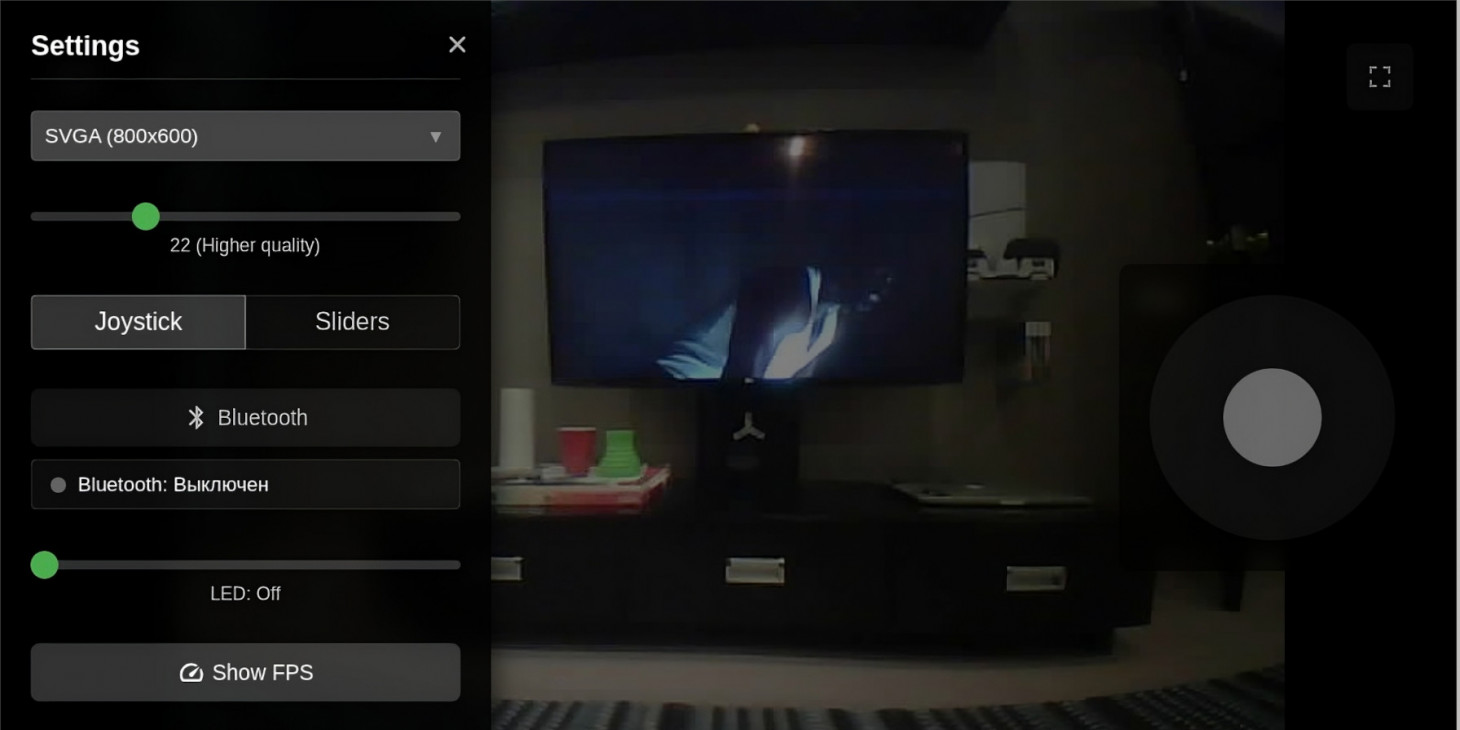
Железо у нас не ограничено 2 двигателями, поэтому и интерфейс будем делать свой. Что в нем будет:
- настройка разрешения и качества видео, старт и остановка стрима;
- 2 режима управления - джойстик и слайдеры (как в танке или тракторе - 2 рычага, отвечающие за левый и правый мотор);
- активация подключения к Bluetooth пульту с выводом состояния;
- управление яркостью светодиодов (яркие led в глазах);
- отображение значения FPS при трансляции;
- адаптивная верстка и полноэкранный режим.
Прошивку я написал в cursor c sonnet 3.7, про процесс писать смысла не вижу, весь хабр последнее время завален статьями на тему. Скажу лишь, что с Си и программированием под esp32 в частности у ИИ много больше проблем, чем с более популярными языками (python, js, php, etc).
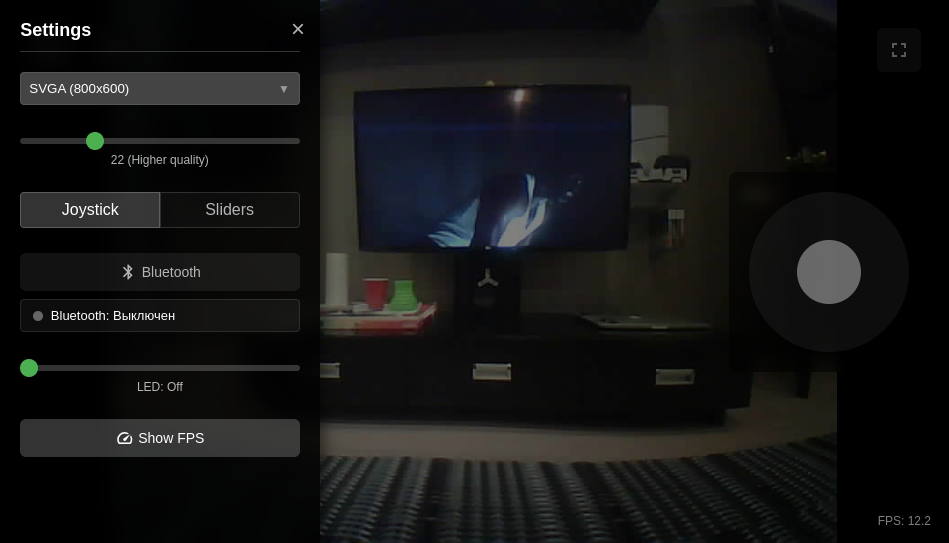
Результат получился таковым, окно настроек и режим управления джойстиком:
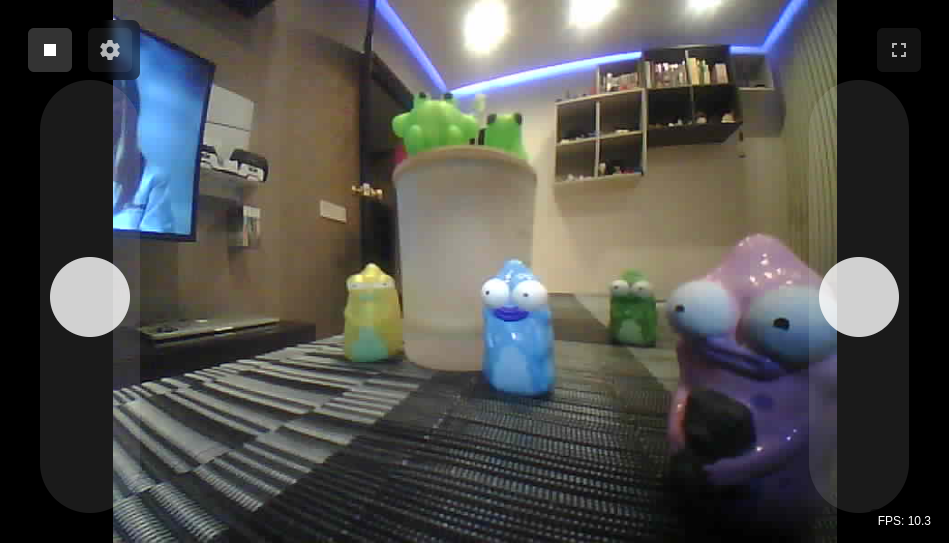
Режим управления слайдером:
Опишу наиболее интересные технические аспекты прошивки, рожденные коллективным бессознательным.
Разработано под platformio с arduino framework и с использованием FreeRTOS (инструкцию по включению функций сбора статистики я описывал в прошлой статье именно в рамках этого проекта). Т.е. все задачи (BT, стриминг, http, управление двигателями, лог загрузки) разделены на разные FreeRTOS задачи и выполняются на разных ядрах (если кто не знал - esp32 - двухядерный).
Весь UI написан в одном html файле, который при прошивке транслируется в Си, при этом сжимаясь в gzip - экономим память, ресурсы и время загрузки страницы. Фокус с gzip подсмотрел на гитхаб, но к трансляции в Си пришел сам - при использовании SPIFFS для хранения ресурсов есть дополнительные сложности в виде отдельной прошивки этих ресурсов и сложностей с OTA (прошивкой по воздуху). Да и наш объем html настолько мал, что не стоит отдельного хранения.
Мой BT джойстик - это аппаратура Radiomaster TX12 (v1) с модулем ELRS, который умеет прикидываться BT-джойстиком. С форматом и структурой передачи я особо не разбирался ввиду отсутствия времени и желания тратить на это время - силами ИИ по логам были определены байты из пакета, которые отвечают за X и Y левого и правого джойстика - они и были использованы для управления в тех же режимах, как в веб-интерфейсе. Если решите подключить свой джойстик - помимо изменения названия устройства в конфиге наверняка придется менять и обработку BT-пакетов.
Со управлением слайдерами все прозрачно - каждый устанавливает значение двигателя в диапазоне от [-1; 1]. А вот с джойстиком такая прямая логика управления оказалась неочевидна. Поэтому мой джойстик работает так (только эту схему я делал, пожалуй, час):
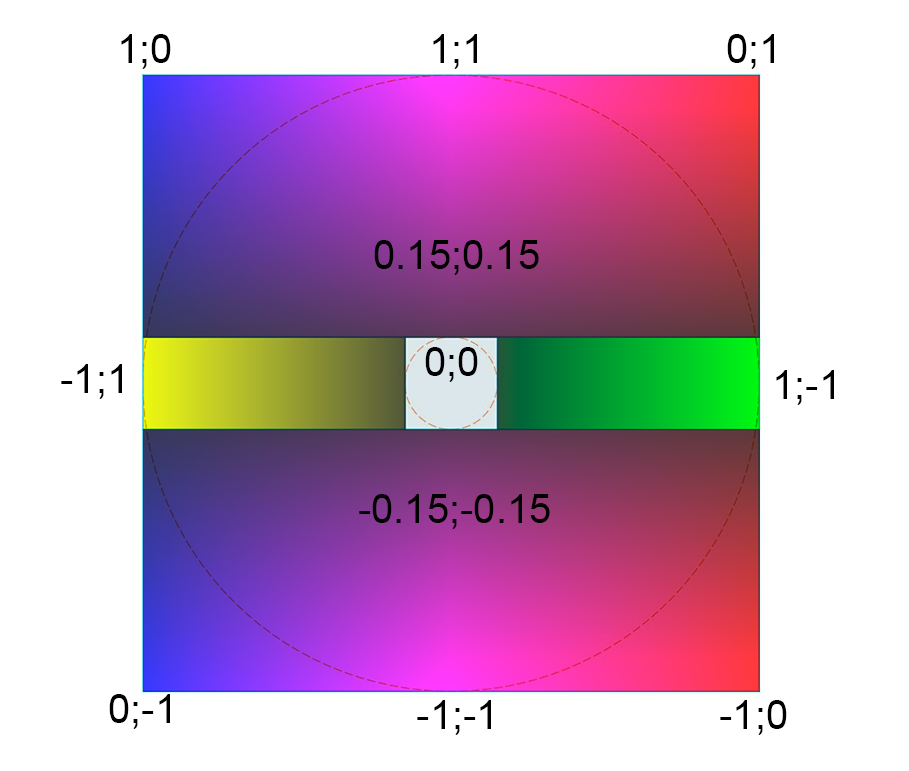
Несмотря на то, что визуально джойстик круглый, зона управления - квадрат (также и на аппаратуре, кстати). Управление линейное, левый верхний угол - [1;0] (левый двигатель максимально вперед, правый стоит), средняя точка наверху - [1;1] (полный вперед), остальные по аналогии.
Есть и зона разворота - два небольших сектора слева и справа по центру - в этих зонах двигатели вращаются в противоположные стороны так, чтобы устройство поворачивало на месте влево или вправо соответственно (тоже линейно, в крайних положениях на максимальной мощности). Центр джойстика при этом - мертвая зона. Вся эта логика реализована на стороне контроллера (пороги конфигурируются), фронтенд передает только "координаты".
Управляющие сигналы, запрос статуса BT, смена качества картинки - все реализовано HTTP-запросами. Так как esp32 на супер производительный http-сервер, положение стиков передается при изменении с ограничением в ~200мс (т.е. при непрерывном изменении положения запрос будет улетать каждые 200 мс), при сбросе положения в 0 задержки нет.
Немного о проблеме с изначальной схемой: я планировал замерять напряжение батареи через аналоговый вход esp32-cam - для чего на схеме изображен делитель напряжения. Увы, ADC2 контроллера задействуется при работе WiFi, причем на нем работают абсолютно все аналоговые входы, выведенные на гребенку esp32-cam. Решения, кроме установки отдельного чипа с подключением по SPI/UART, я пока не нашел - поэтому и измерения и вывода в интерфейс уровня заряда нет (что обидно - я сначала реальзовал это полностью в прошивке, включая интерфейс, и только после в логах увидел ошибку, что ADC2 уже занят WiFi соединением).
Из нюансов, которые могу отметить - скорость передачи видео очень сильно зависит от качества сигнала wifi. Разведенная на плате антенна при этом работает, но на удалении от точки доступа работает достаточно посредственно, у меня качество плавало в зависимости от времени работы стрима (причем чем дольше стрим и горячее плата - тем лучше передача) и от наличия рядом объектов, усиливающих или блокирующих сигнал (условно, при касании рукой платы сигнал становился четким - человек является неплохой антенной). При подключении внешней антенны эти проблемы частично ушли - не забывайте только запаять перемычку на плате для переключения на внешнюю антенну.
Детали прошивки и инструкцию по конфигурации и использованию можете посмотреть в репозитории - esp32-caretaker.
По итогу получилось весьма удобное управление как из браузера мышкой, так и со смартфона и физического джойстика.
Комментариев пока нет
-

Продолжаем печать после отключения
Печать идет больше суток и в процессе пропадает свет. Знакомо? -

Как я работу в 2026 году менял + бонус
После 10 лет в e-commerce я вышел на рынок -

Goback - простые бэкапы
Решил тут наконец заняться бэкапами. И без самописных утилит не обошлось. -

Проект Наблюдатель
Проект приурочен к хеллоуину - это статуя одноглазого ктулху с механизированным… -

Универсальный AI Telegram Bot
Хотите в пару действий запустить собственного AI бота для Telegram? -

Анализ истории просмотров Youtube
Задумывались, сколько времени вы проводите за просмотром видео? Давайте считать.