174
Композитная будка в стиле Сиднейской оперы. Часть 1
Идея
Наш дом в селе охраняют 2 собаки - одну из них решили перевести с плитки во дворе на отдельную оборудованную площадку.
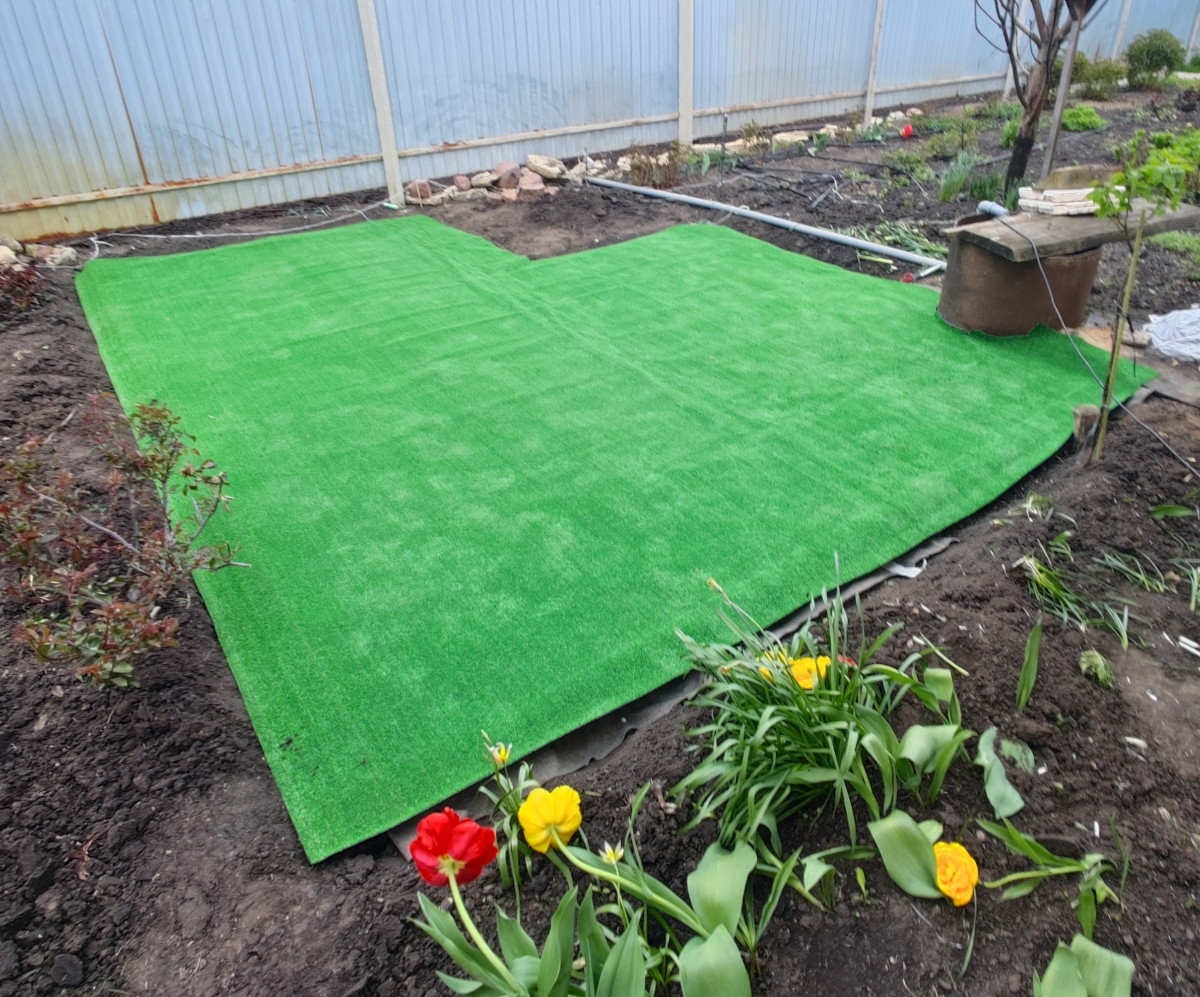
Про площадку я отдельно писал в телеграм в одном из первых постов, если вкратце - это искусственный газон с отдельной площадкой с песком в санитарных целях (здесь песка еще нет):
Но текущий пост о другом. Текущая будка прохудилась, сбита наспех из сосновых досок и имеет проблемы с теплозащищенностью, особенно зимой.
Проект нормальной зимней будки обычно выглядит примерно следующим образом:
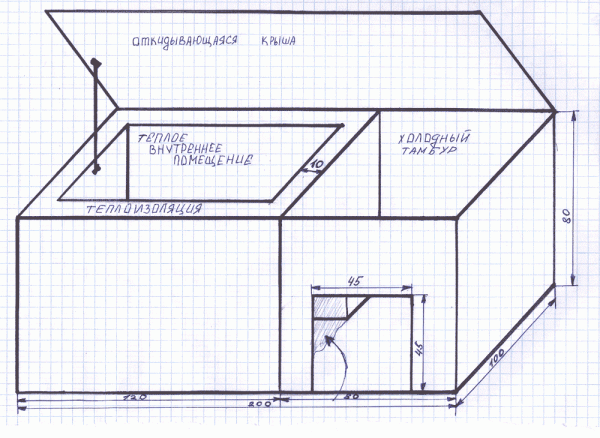
Т.е. отдельное теплое помещение с теплоизоляцией и холодный тамбур. Примерно на эти габариты я ориентировался при проектировании (2 метра на 1 метр по внешним габаритам).
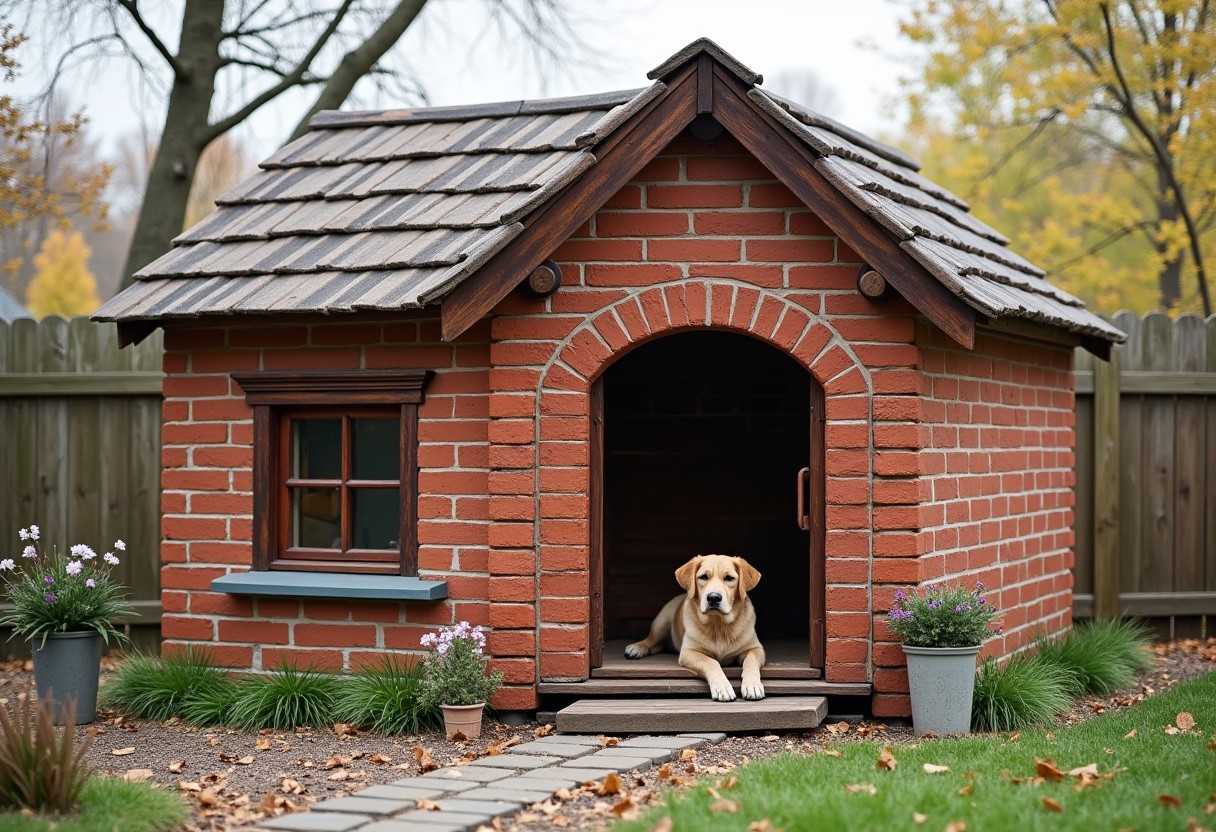
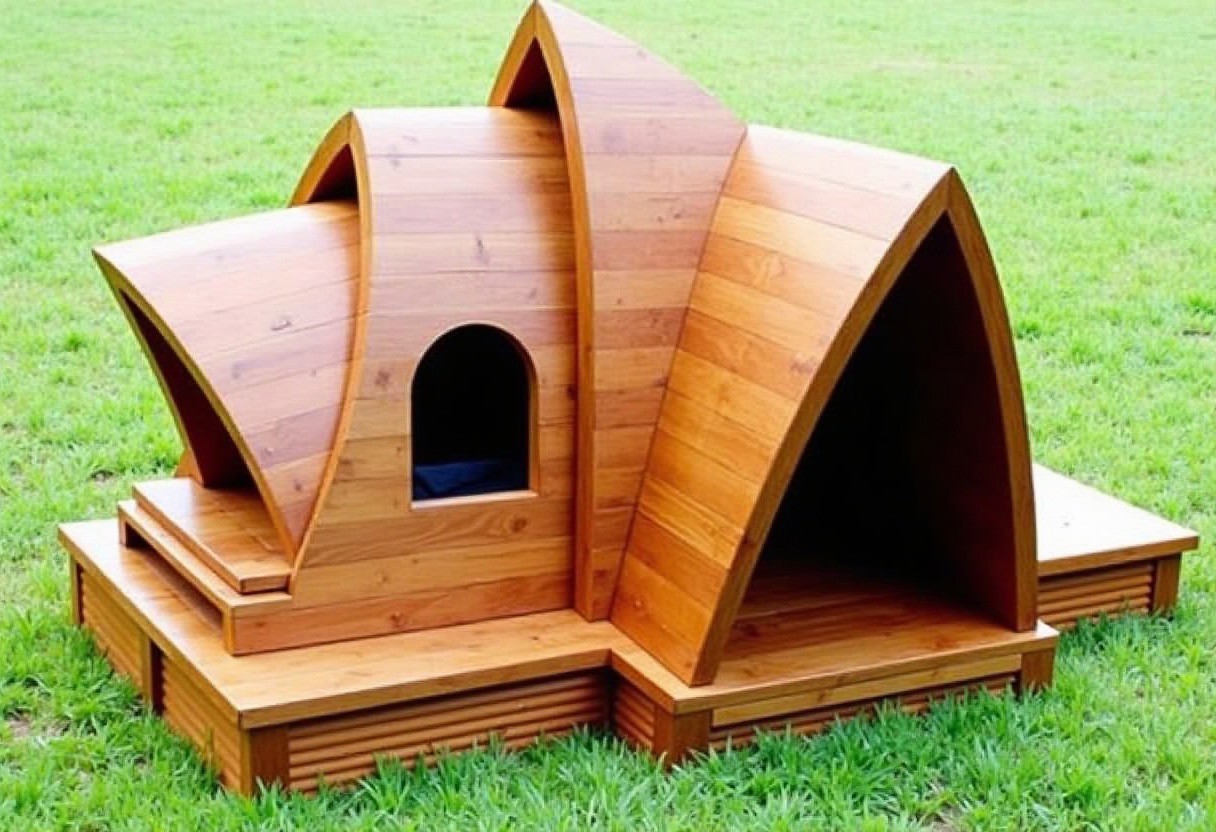
В какой-то момент рассматривал 2 варианта, один из которых был относительно простым - сделать будку из фанеры / листового материала и облицевать красным кирпичом (дом построен в начале 20 века из красного кирпича). Изображение сгенерировано по моему запросу, разумеется, все выглядело бы иначе, но не дошло до проекта.
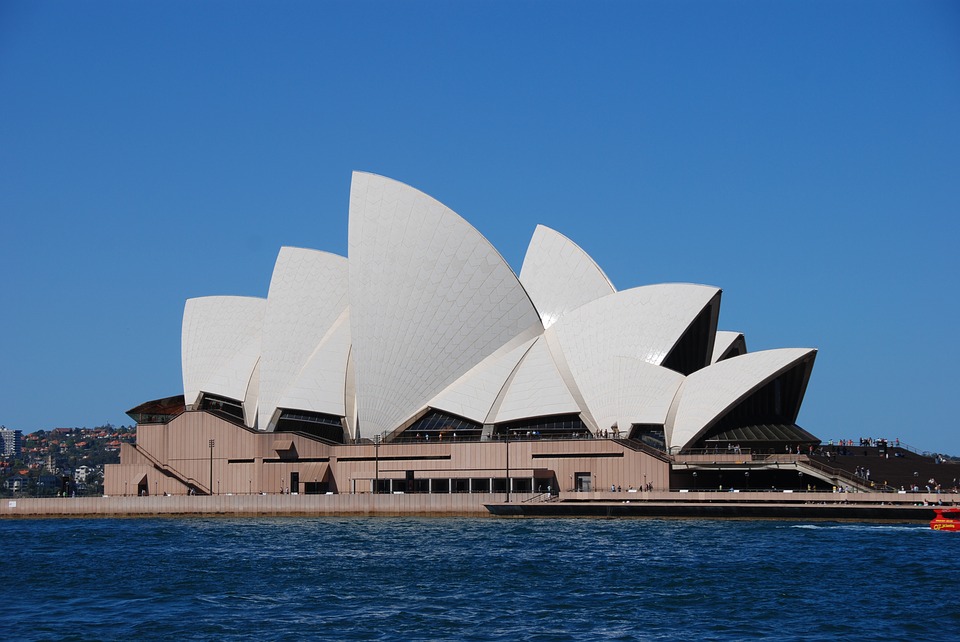
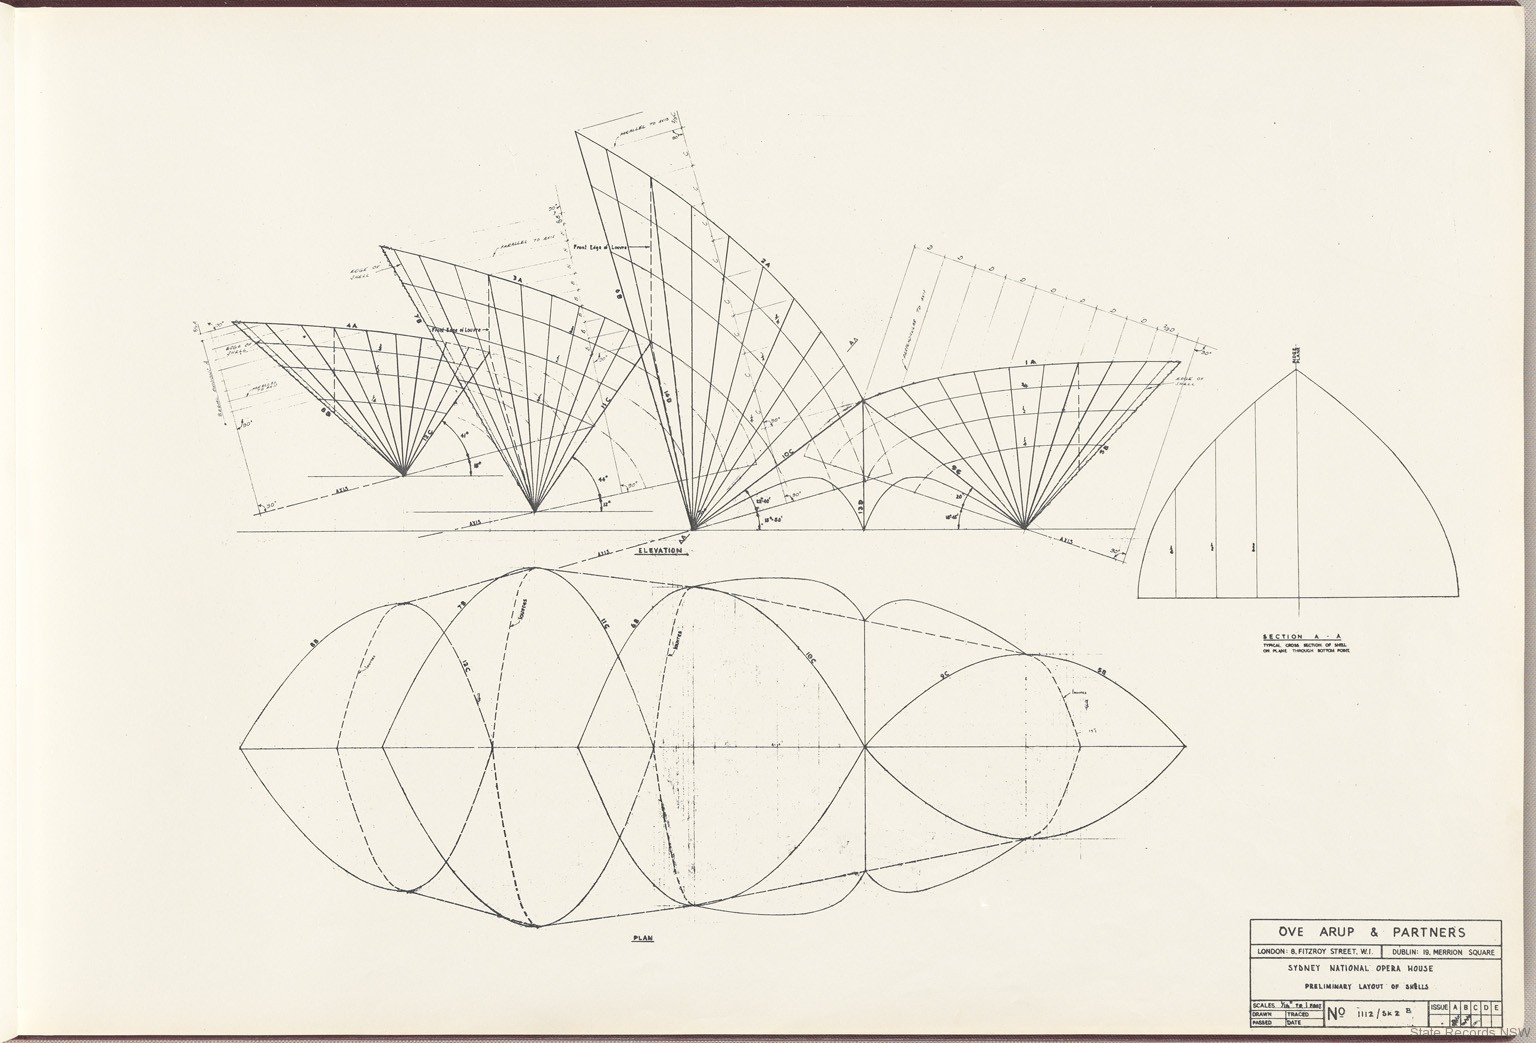
Но затем все же меня пересилила более амбициозная идея. Мне всегда нравилось здание Сиднейской оперы:
И будку я тоже решил сделать на основе этого референса. Изначала пытался повторить тот же пайплайн, по которому я шел при разработке Смотрителя - ИИ дизайн и 3д моделирование, но меня ждал провал.
Изображения генерировались не такими, какими я ожидал их увидеть:

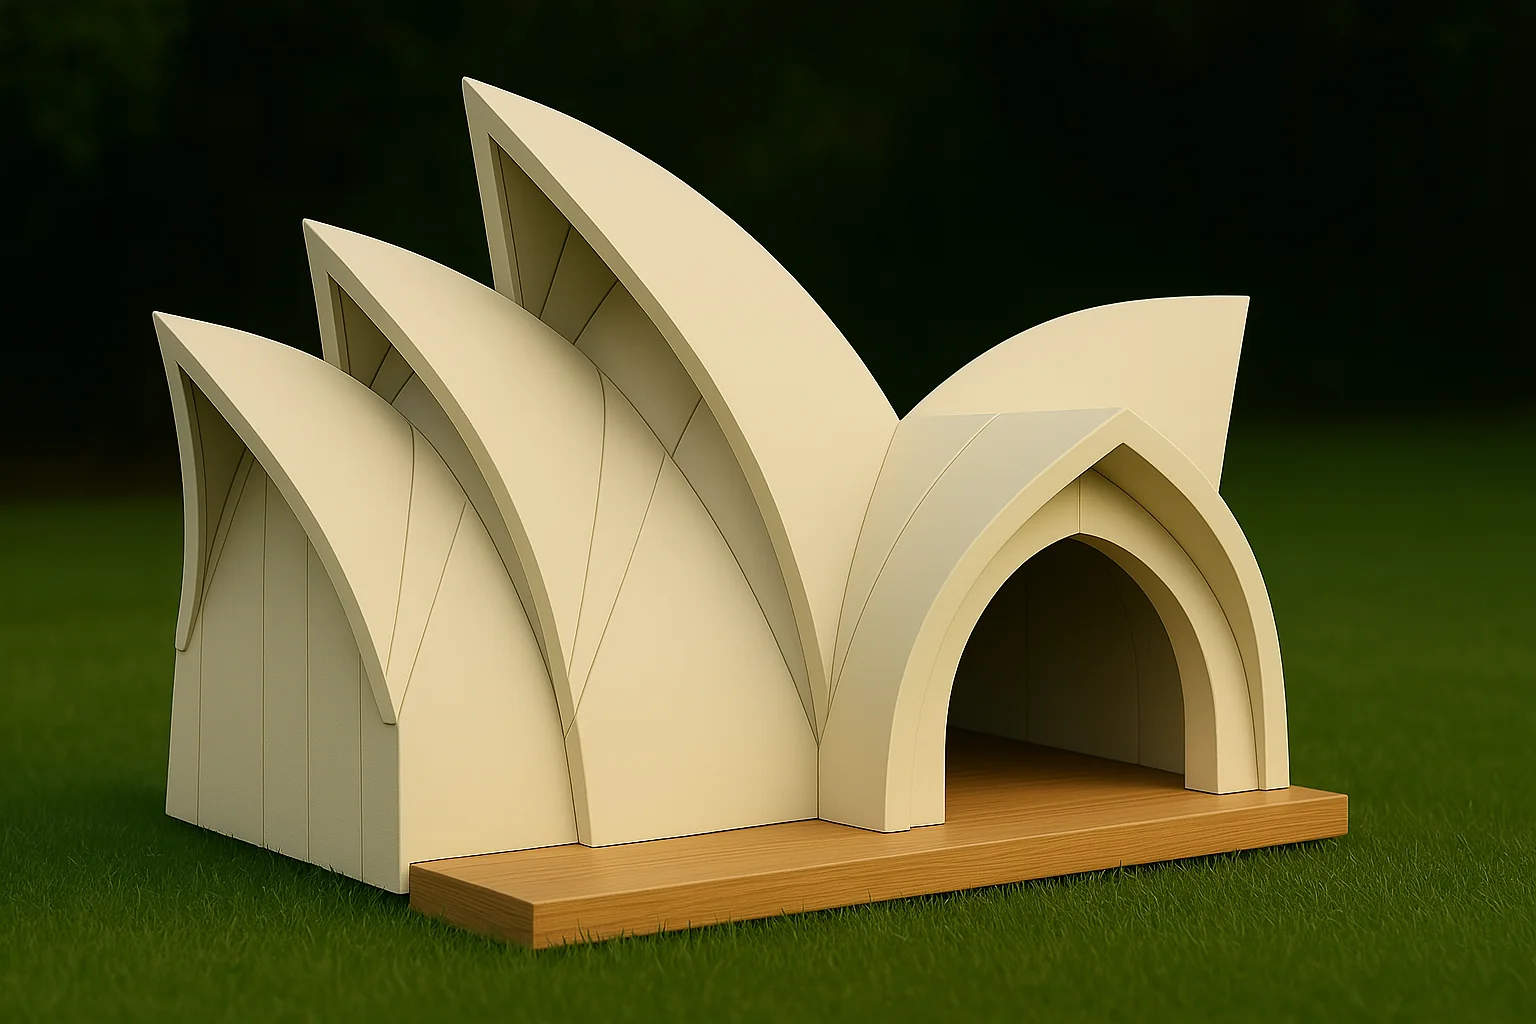
Последний - максимум, что я смог получить по похожести на оригинальное здание. Что касается 3д - здесь дела обстояли еще хуже:
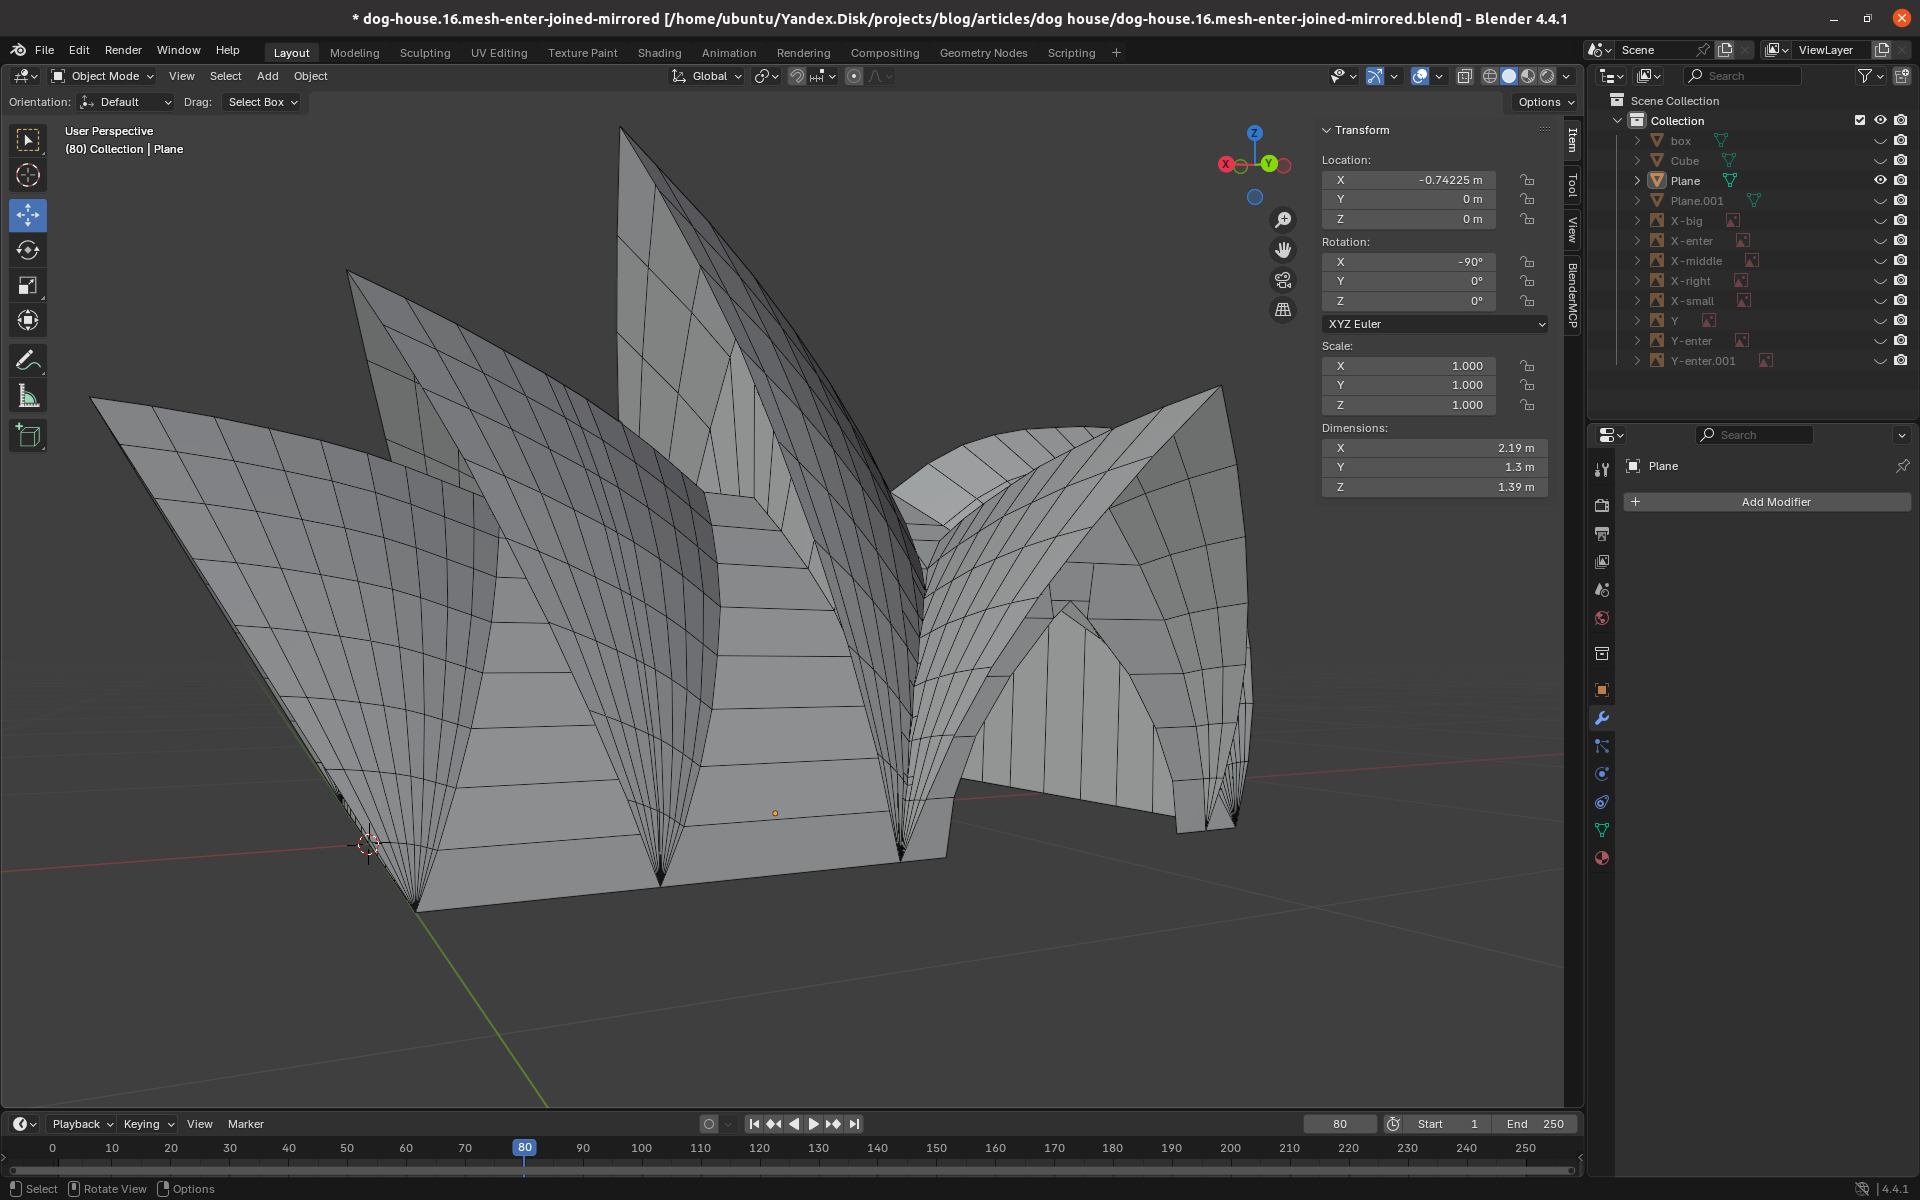
Моделирование
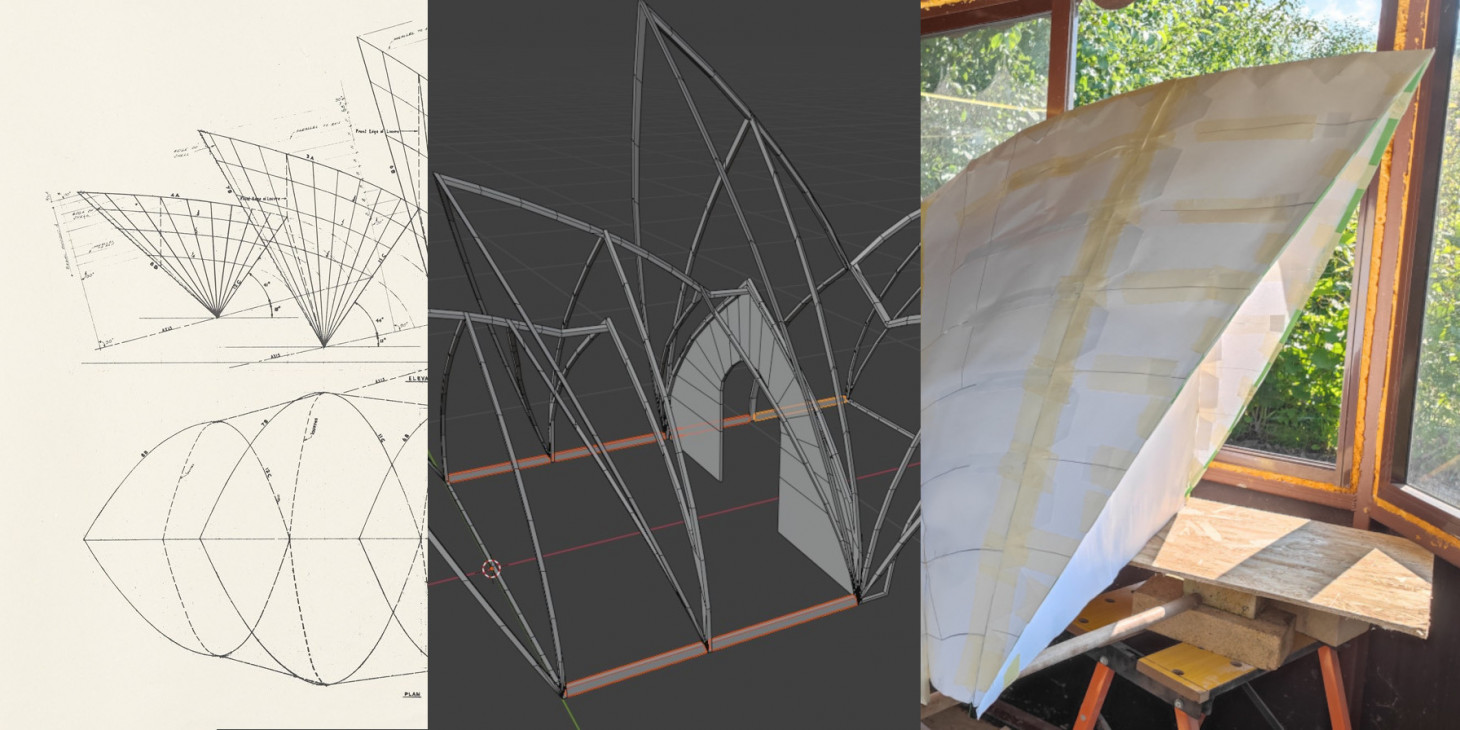
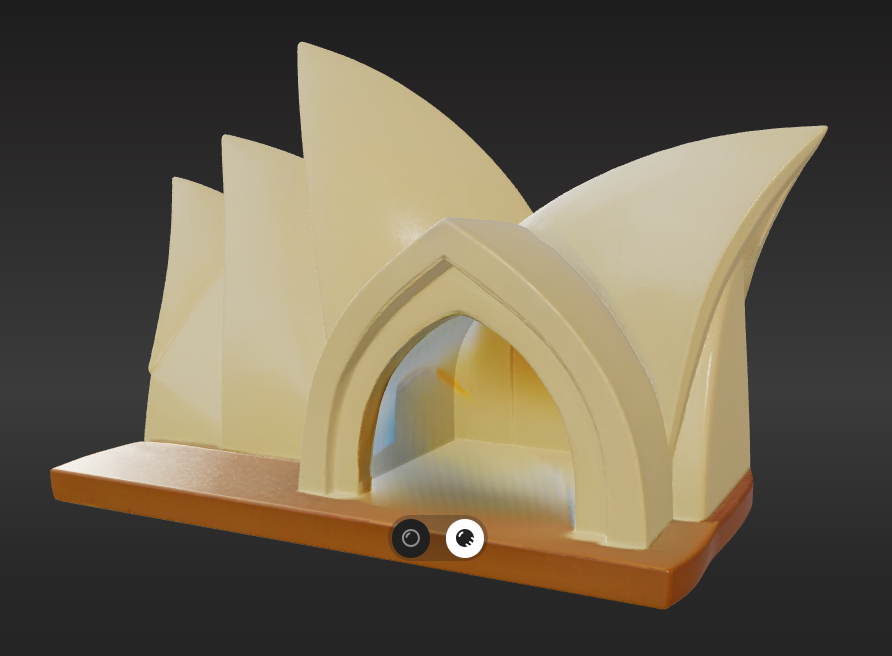
Поэтому пришлось вспоминать полигональное моделирование в Blender, только с нуля. В сети был обнаружен макет оперы какого-то раннего этапа, его я и взял за основу:
Ну собственно берем и обрисовываем, благо все проекции здесь есть:

Отдельная сложность была в том, чтобы все это соединить друг с другом и нарисовать вход, но в конце концов модель вышла достаточно неплохой:
Дальнейшие шаги
Собственно, это был наверное первый вопрос до того как я даже начал моделировать.
Габариты будки - 2.20 х 1.20 х 1.30 метров. Основной рабочей гипотезой у меня сначала была 3д-печать.
Но по примерным подсчетам на это ушло бы килограмм 12 пластика и порядка 100-150 деталей даже без учета поддержек и при условии что каждая деталь будет занимать полную область печати. Успел даже написать скрипт на python для Blender по автоматическому разрезанию модели на части заданных габаритов.
На деле же первая тестовая печать показала, что с высоты уже в 10 см тонкостенная деталь начинает сильно гнуться и появляются значительные отклонения. А дальше еще нужно было это все склеить друг с другом - так что такой вариант реализации был заброшен.
Оболочка
Тем более что мне пришла гениальная идея - склеить будку из бумаги, благо полигонов в модели немного. Был обнаружен софт для получения эскизов для раскройки модели - Pepakura.
Грузим в неё модель, в моем варианте stl файл - и получаем автоматическую раскройку:
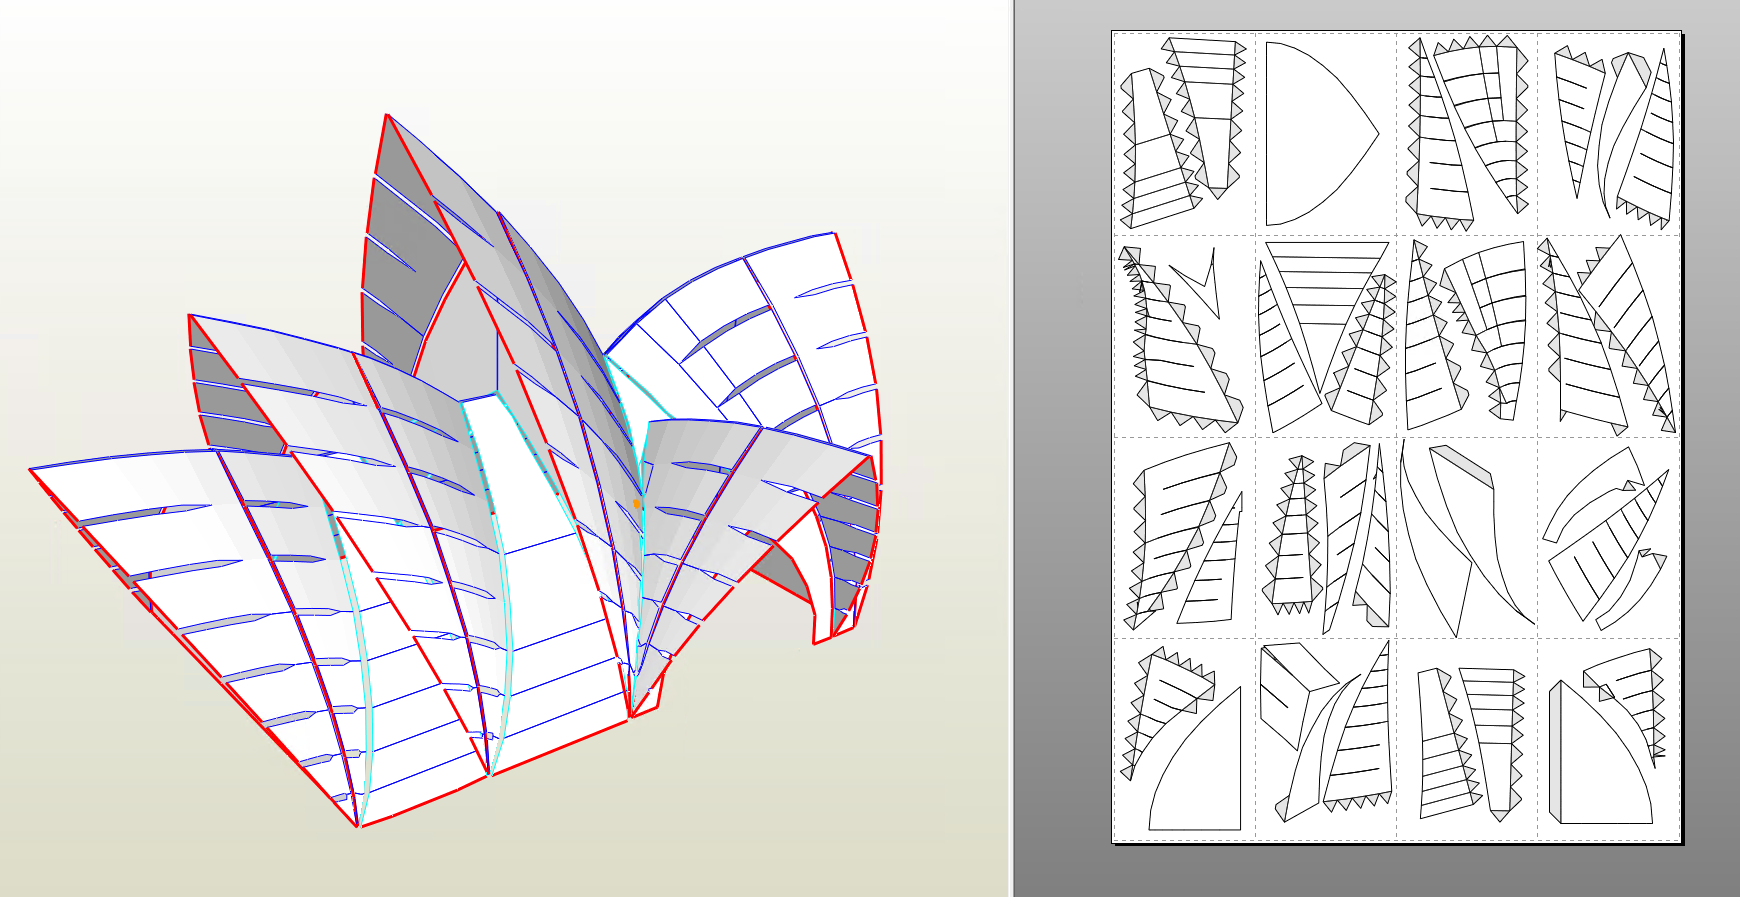
Причем интерактивно можно редактировать раскройку:
- делать разрез или соединять стыки;
- перекидывать "уши" на другую сторону эскиза;
- ну и само собой раскладывать части по листам.
В блоке справа пунктирные линии выделяют листы А0 (ватман, в 16 раз больше А4). Это достаточно много. Трудно представить насколько это много в уме, поэтому посмотрите на это:
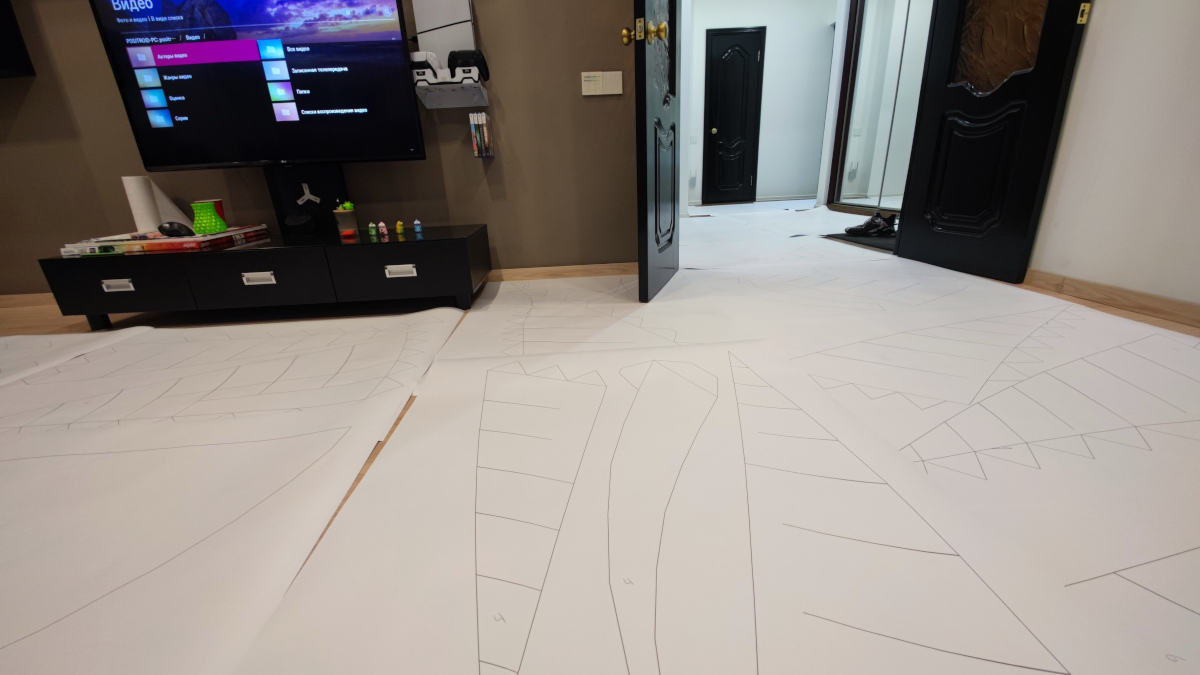
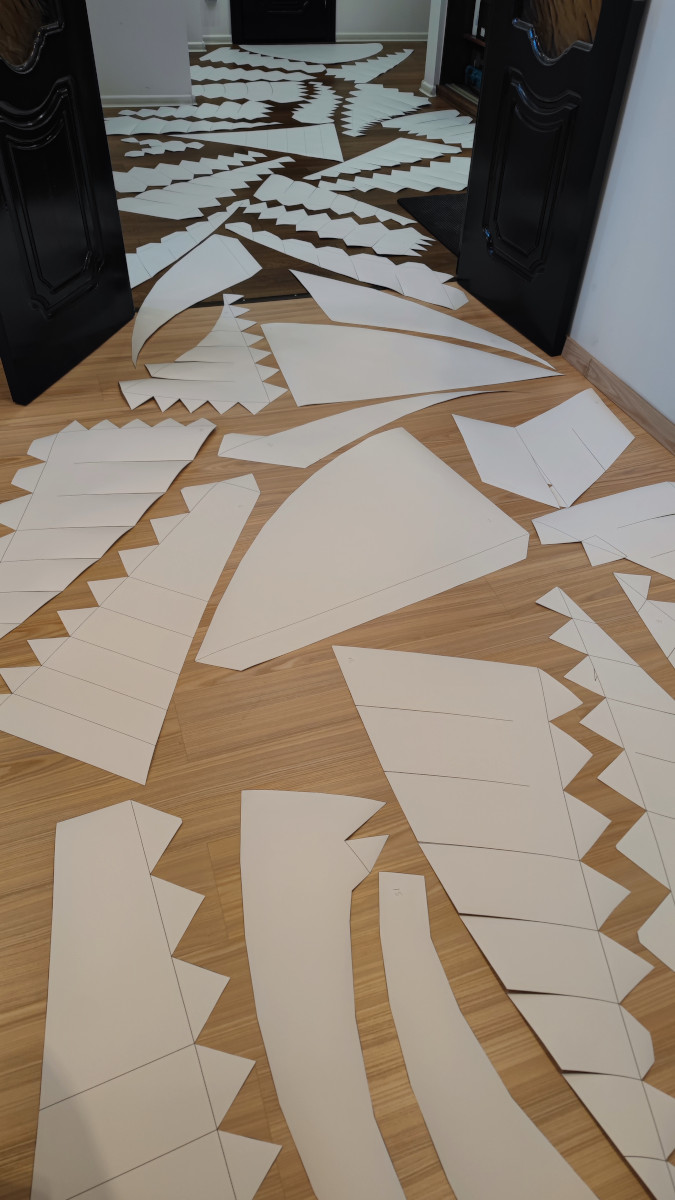
Дальше это все склеивается на ПВА, по крайней мере таков был изначальный план.
Каркас
Но одной бумагой объект таких габаритов обойтись не может, нам нужен каркас. Здесь 3д-печать все же поможет. Но сначала моделирование.
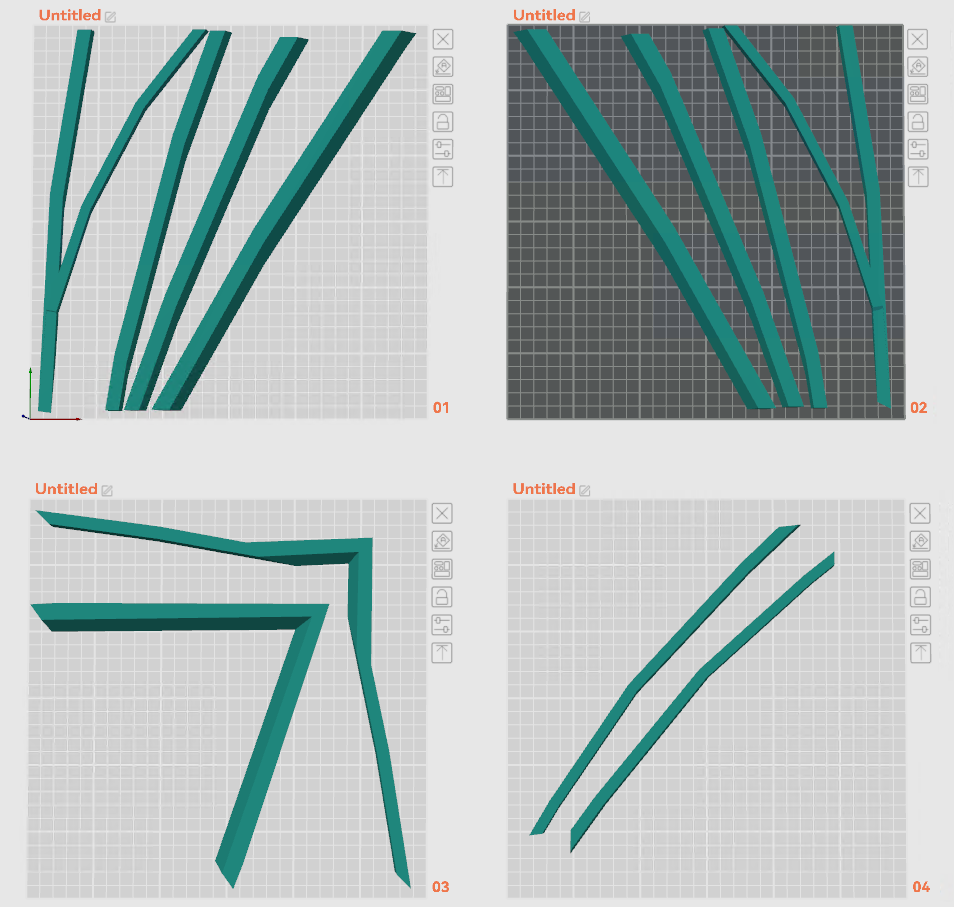
План минимум - только прямые каркасы:
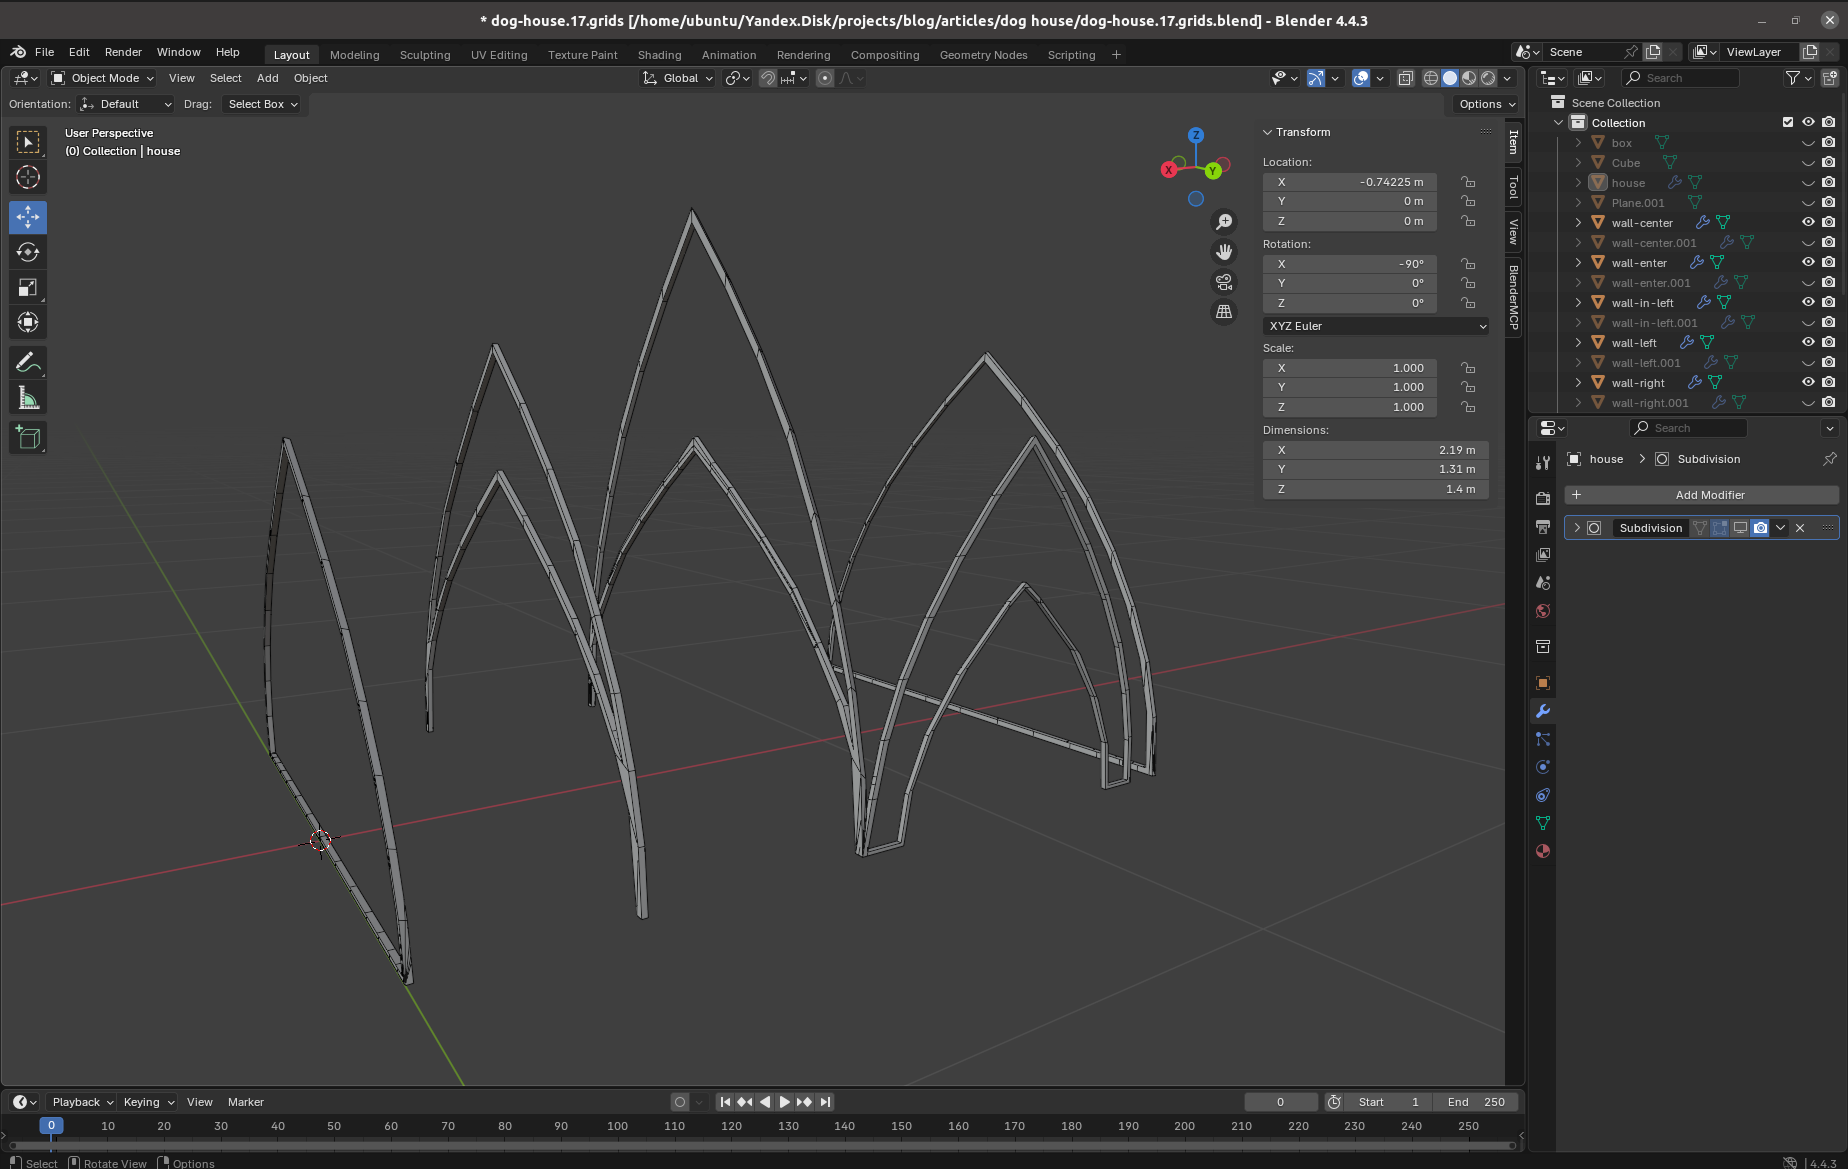
Начал с него, но в процессе сборки оказалось, что арки без поддержки тоже не держатся, поэтому они тоже были домоделированы:
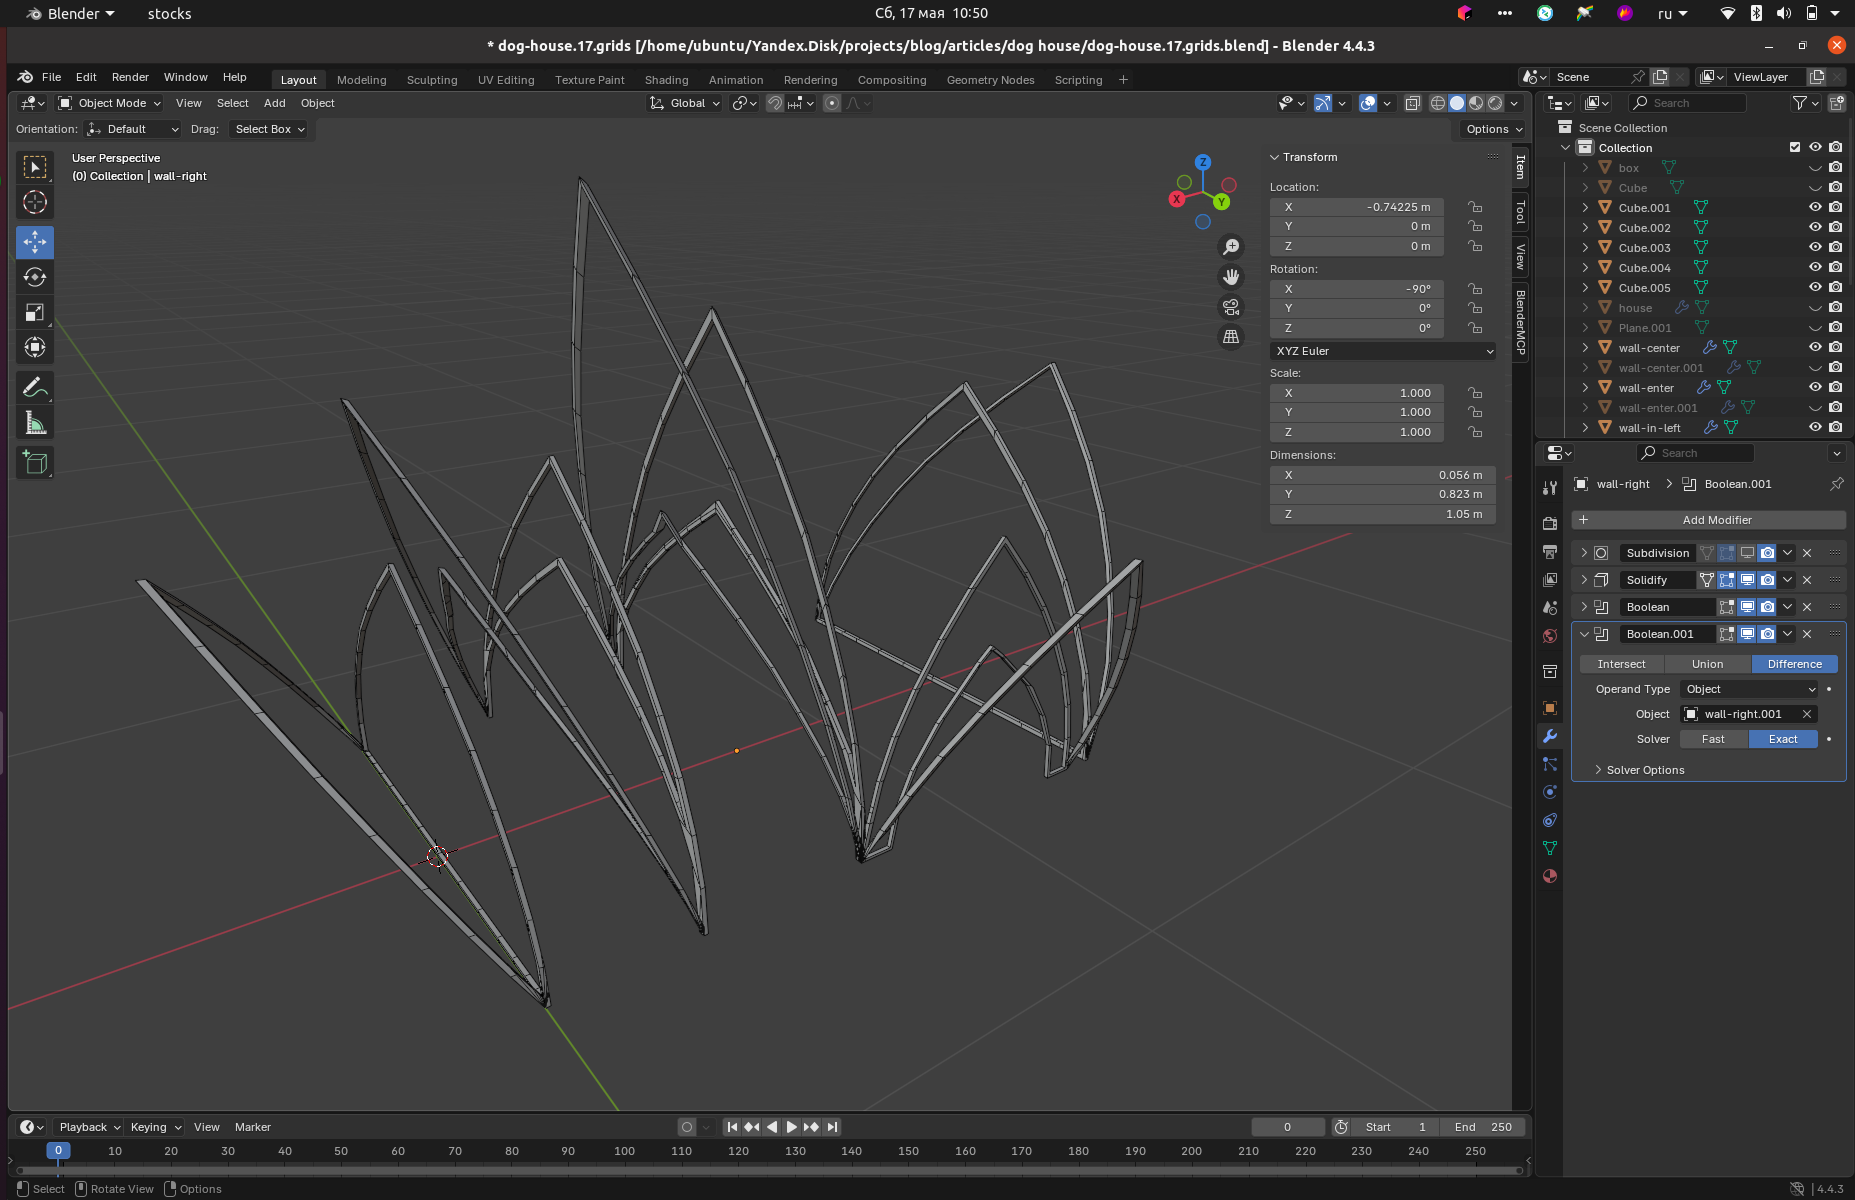
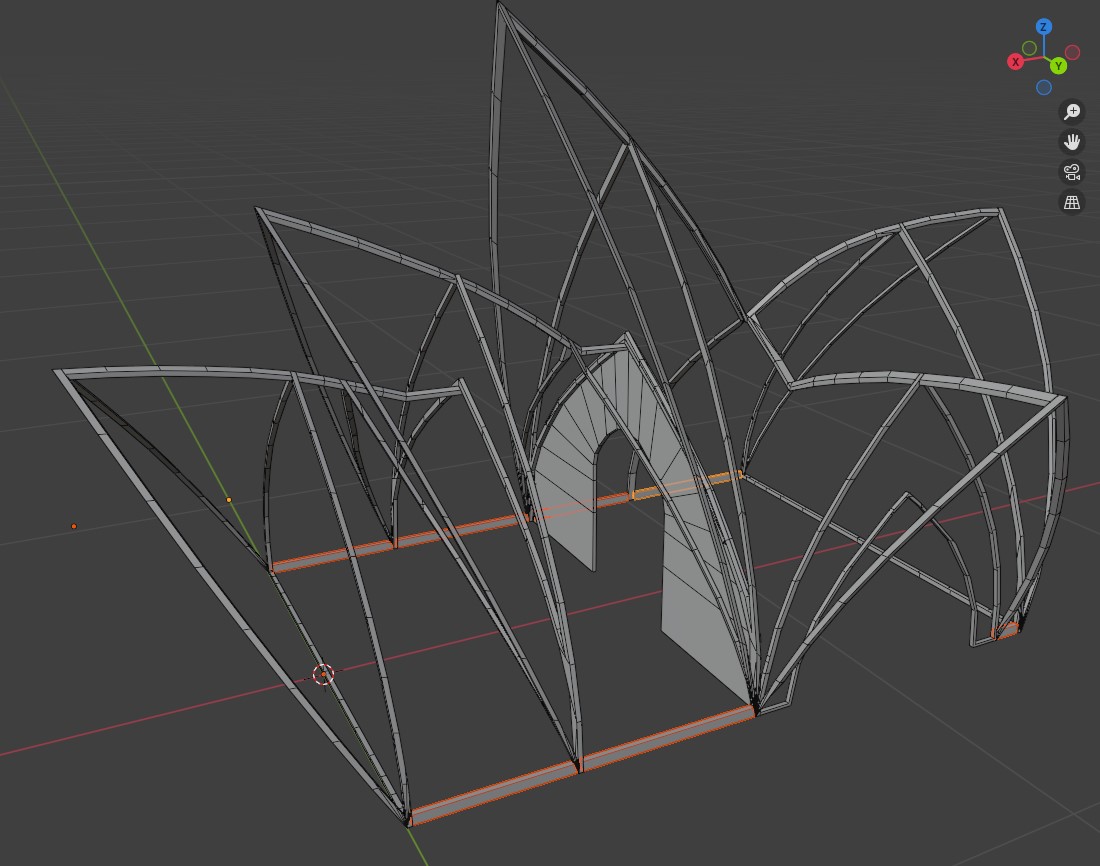
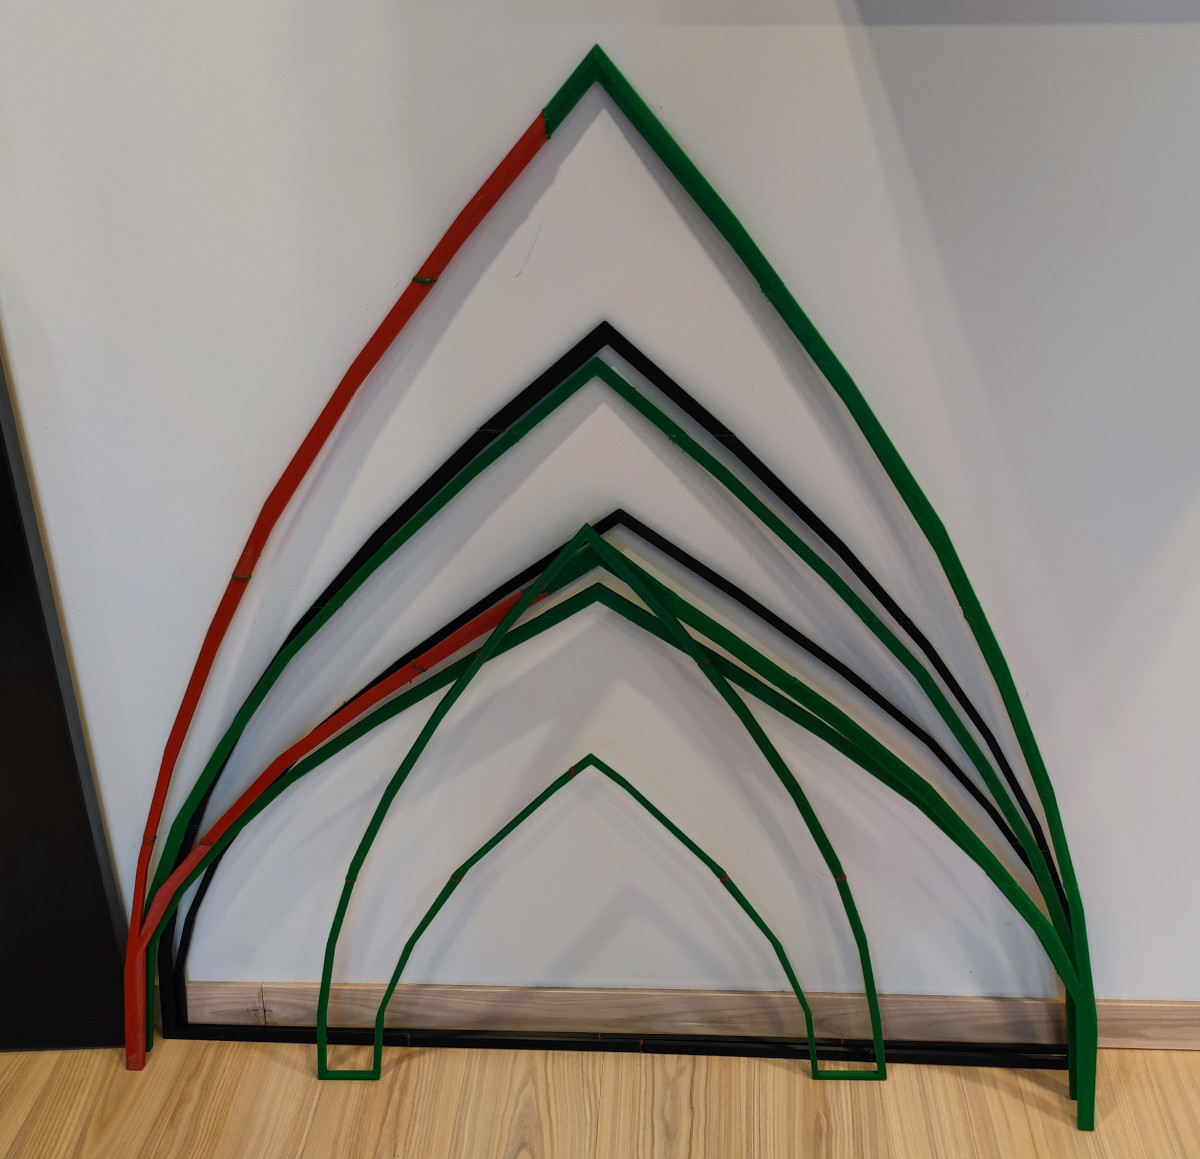
Ну а закончилось все вообще полным каркасом (промежуточная перегородка будет не из пластика):
А здесь часть распечатанных и склеенных 3д-ручкой элементов и пример раскладки для печати:
Ну и текущее состояние проекта - все собрано на клей и малярный скотч:
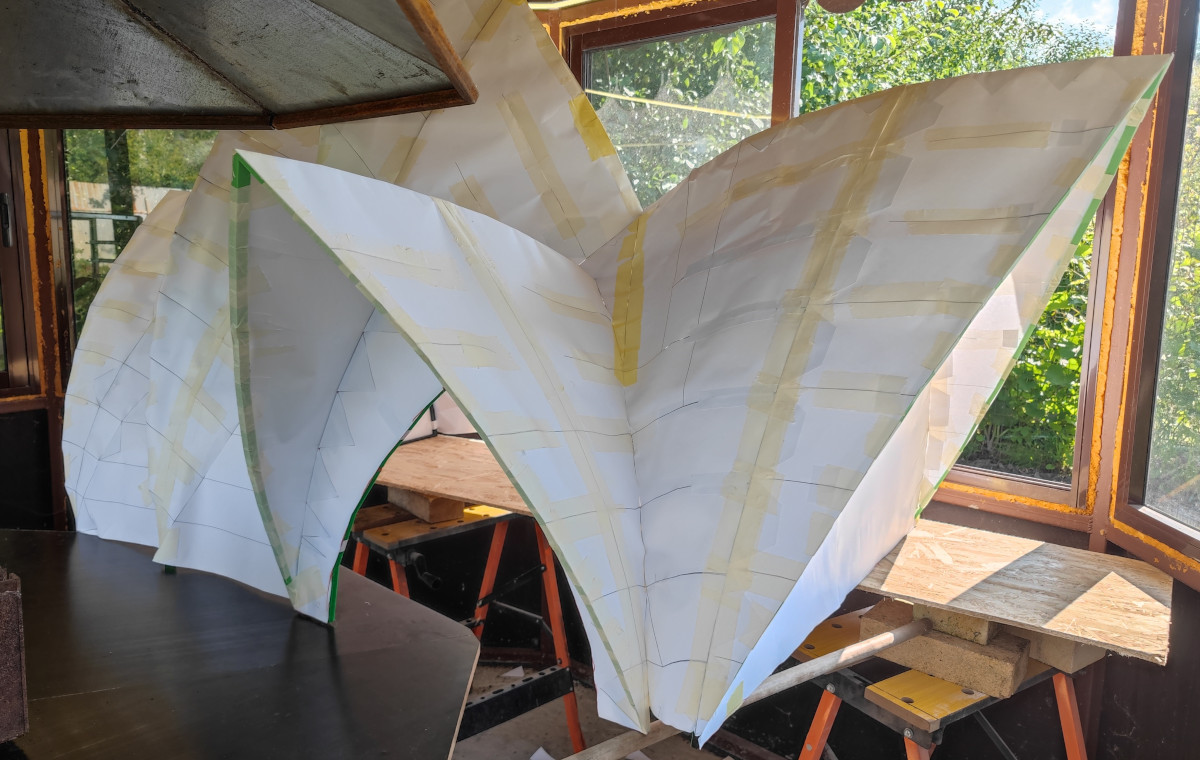
Впереди усиление каркаса и оболочки, композит, шпатлевка, утепление и эстетика. Должно быть долго... но интересно.
-

Goback - простые бэкапы
Решил тут наконец заняться бэкапами. И без самописных утилит не обошлось. -

Проект Наблюдатель
Проект приурочен к хеллоуину - это статуя одноглазого ктулху с механизированным… -

Универсальный AI Telegram Bot
Хотите в пару действий запустить собственного AI бота для Telegram? -

Анализ истории просмотров Youtube
Задумывались, сколько времени вы проводите за просмотром видео? Давайте считать. -

Image2model с tripo3d и Blender
Иногда хочется, чтобы нарисованный или сгенерированный персонаж стал настоящим -

Локальный эмулятор Telegram
Писали ли вы когда-нибудь телеграм ботов?
шиш 18.09.2025 03:18
Красота!!